BLOG
home Slate Roof Installation Process in the UK: Step-by-Step Explained
Slate Roof Installation Process in the UK: Step-by-Step Explained
Slate roofing is one of the most durable roofing systems available in the UK, but its longevity depends entirely on correct installation. Even premium-grade slate will underperform if battens are misaligned, fixings are inadequate, or head lap requirements are ignored. Poor installation often leads to early slippage, moisture ingress, and expensive corrective work.
The UK’s exposure to wind uplift, heavy rainfall, and frost cycles demands precision at every stage. Understanding the slate roof installation process helps homeowners recognise quality workmanship and avoid costly shortcuts. This guide explains how slate roofs are installed in the UK step by step.
Slate Roof Installation Process UK Homeowners Should Understand
The slate roof installation process UK properties require follows a strict sequence to ensure compliance with British Standards and exposure classifications. Installation is not simply laying tiles, but constructing a layered weatherproof system.
Core installation stages include:
Structural assessment
Batten fixing
Ridge and flashing integration
Each stage directly affects durability and wind resistance. Professional slate roofing ensures the full system meets regulatory and structural standards.
Step 1: Structural Assessment and Preparation
Before installation begins, the roof structure must be assessed for load capacity. Natural slate is heavier than many alternative materials, requiring adequate rafter strength.
Preparation involves:
Checking rafter span and timber condition
Confirming structural load calculations
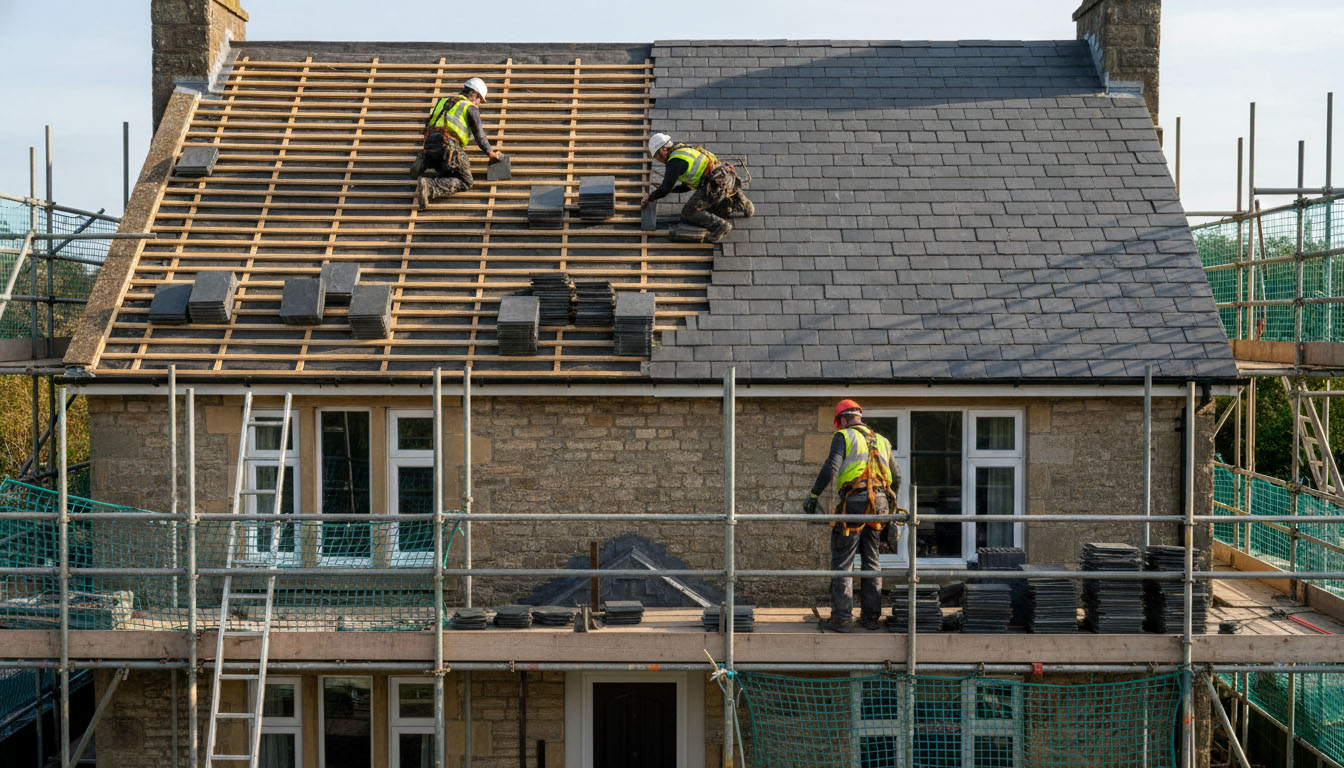
Installing scaffolding and safe access
Where structural reinforcement is required, professional pitched roof installation ensures the framework can safely support slate weight and comply with building regulations.
Step 2: Underlay and Membrane Installation
Once the structure is prepared, a breathable underlay membrane is installed. This layer provides secondary weather protection beneath the slate.
Key requirements include:
Correct overlap of membrane layers
Secure fixing to prevent sagging
Proper ventilation gaps at eaves
Integration with vapour control layers
The underlay prevents wind-driven rain from reaching timber components while allowing moisture to escape.
Step 3: Batten Installation and Alignment
Battens provide the fixing base for each slate tile. Precise spacing is critical to maintain correct head lap and water-shedding performance.
Batten installation involves:
Measuring gauge spacing accurately
Using treated timber battens
Securing battens at correct intervals
Aligning battens level across roof pitch
Incorrect spacing can compromise overlap and increase risk of leaks. Professional slate roofing teams ensure gauge calculations match slate size and roof pitch.
Step 4: How Slate Roofs Are Installed UK Fixing Methods
Understanding how slate roofs are installed UK properties require involves secure double-lap fixing. Each slate overlaps two beneath it to create a watertight barrier.
Fixing methods typically include:
Copper or stainless-steel nails
Slate hooks in high exposure areas
Correct head lap measurements
Increased fixing density in wind-prone zones
The double-lap system ensures water sheds effectively down the roof slope. Fixing density is adjusted according to regional wind exposure classifications.
Step 5: Valleys, Flashing, and Detailing
Roof detailing is where many installation failures occur. Valleys and flashing areas require precise integration to prevent water ingress.
Detailing includes:
Lead flashing around chimneys
Valley lining installation
Secure ridge and hip systems
Correct verge finishing
Improper flashing integration is one of the most common causes of leaks. Precision at this stage ensures long-term performance.
Step 6: Final Inspection and Compliance Checks
After slate installation is complete, a thorough inspection confirms structural and regulatory compliance.
Final checks typically include:
Verifying fixing density
Checking ridge alignment
Inspecting ventilation gaps
Confirming secure flashing integration
Where broader roof strengthening or system upgrades are necessary, roof restoration services may be integrated into the project to enhance longevity.
Installation Timeline Overview
Installation time depends on roof size, pitch complexity, and weather conditions.
Roof Type | Estimated Installation Time |
|---|---|
Small extension | 3–5 days |
Standard semi-detached | 1–2 weeks |
Large detached property | 2–3 weeks |
Adverse weather can extend timelines, particularly in winter months.
Why Professional Installation Matters
Slate roofing is not a DIY-friendly system. Precision measurement, correct head lap, and appropriate fixings are essential for durability.
Risks of poor installation include:
Wind uplift failure
Water ingress beneath underlay
Structural timber decay
Professional slate roofing installation ensures the roof performs reliably for decades under UK weather conditions.
Frequently Asked Questions
How long does slate roof installation take in the UK
Installation typically takes one to three weeks depending on roof size and complexity.
Are slate roofs difficult to install
Yes, slate roofing requires specialist knowledge, precise measurement, and correct fixing techniques.
Do slate roofs require special fixings
Yes, copper or stainless-steel nails are commonly used to prevent corrosion.
Can slate be installed on any roof structure
Structural assessment is required to confirm the framework can support slate weight.
Is ventilation important in slate roof installation
Yes, proper ventilation prevents condensation and protects underlying timber.