Replacing damaged roof tiles is essential for maintaining your London home’s structural integrity and weather protection. The process involves identifying broken tiles, safely accessing your roof, removing old materials, and installing new ones that match your existing surface.
Professional assessment is crucial before starting, especially in London’s varied climate conditions.
This guide covers everything needed to complete roof tile roof replacement in London effectively, from selecting the right materials to understanding local building requirements. It also explains proper installation techniques to ensure compliance with UK standards.
The replacement process requires careful planning and systematic execution to achieve lasting results. Following proper procedures ensures your roof remains watertight and structurally sound.
Before starting any roof work, prioritize safety by securing a sturdy ladder and wearing appropriate personal protective equipment, including non-slip footwear and gloves.
Position ladders at the correct angle on stable ground and ensure someone knows you’re working at height. Inspect the roof from ground level first to identify visible damage and determine how many tiles need replacement.
Check surrounding tiles for cracks or displacement that might indicate broader issues requiring attention from local tile roofers in London.
The assessment phase helps determine whether this is a suitable DIY project or requires professional intervention.
London’s Victorian and Edwardian homes often feature slate or clay tiles that may need specialized handling. Consider weather conditions carefully, as wet or windy days make roof work dangerous and less effective.
Collecting the right equipment before climbing onto your roof saves time and reduces risk. Essential tools include a pry bar or hand trowel for lifting tiles, timber wedges to hold adjacent tiles in place, a hammer for removing nails if needed, and roofing cement or adhesive for securing new tiles.
You’ll also need replacement tiles that match your existing roof in size, color, and material type. London homes commonly feature concrete interlocking tiles, clay plain tiles, or natural slate, depending on the property’s age and architectural style.
Purchasing tiles from reputable suppliers ensures quality and compatibility. Keep spare tiles on hand for future repairs, as matching discontinued patterns can prove challenging years later.
Carefully slide adjacent tiles away from the damaged one using your hand trowel or pry bar while inserting timber wedges beneath surrounding tiles to prevent them from slipping.
For unfixed tiles, gently ease the broken piece sideways and lift it out of position. If the damaged tile is nailed down, you may need to remove surrounding tiles first to access the fixings, then use a slate ripper or similar tool to extract the nails.
Work methodically to avoid damaging neighboring tiles during removal. Interlocking tiles require careful manipulation to disengage their locking mechanisms without cracking adjacent pieces. Lower damaged tiles to the ground slowly rather than dropping them, as falling debris poses hazards to people and property below.
Once the damaged tile is removed, examine the exposed roof deck and battens underneath for signs of rot, water damage, or structural weakness.
This step is crucial because replacing tiles over compromised underlayment or timber creates temporary fixes that fail quickly. Clean the area thoroughly by removing old mortar, debris, or moss that has accumulated beneath the damaged tile.
If you discover damaged battens or felt during inspection, these require repair before proceeding with tile replacement. Minor rot can be treated, but extensive damage necessitates professional roofing services.
Properties should consult top-quality roofing services in London for structural repairs to ensure compliance with Building Regulations Part A requirements.
Apply roofing cement or an appropriate adhesive to the underside of your new tile roof according to the manufacturer’s instructions.
Carefully position the replacement tile into the empty space, ensuring it aligns properly with surrounding tiles and hooks securely onto the batten if your tile type features nibs or interlocking edges.
For the final tile in a course, lift the tiles on either side slightly and wiggle the new piece into position until it sits flush and correctly interlocked.
Press the tile firmly to ensure good adhesive contact while checking alignment from multiple angles. The replacement should sit at the same height and angle as neighboring tiles without gaps that allow water infiltration. For nailed tiles, secure with appropriate galvanized or stainless steel roofing nails driven through the designated fixing holes.
After installing replacement tiles, step back and visually inspect the repair area from different positions on the roof. Ensure all tiles lie flat without rocking or gaps between them. Clean excess mortar or adhesive immediately before it hardens, as dried material proves difficult to remove and affects appearance.
Remove all tools, broken tile pieces, and debris from the roof and surrounding ground area. Conduct a final safety check of your work before descending, verifying that all tiles are secure and properly positioned. Consider photographing the completed repair for future reference and maintenance records.
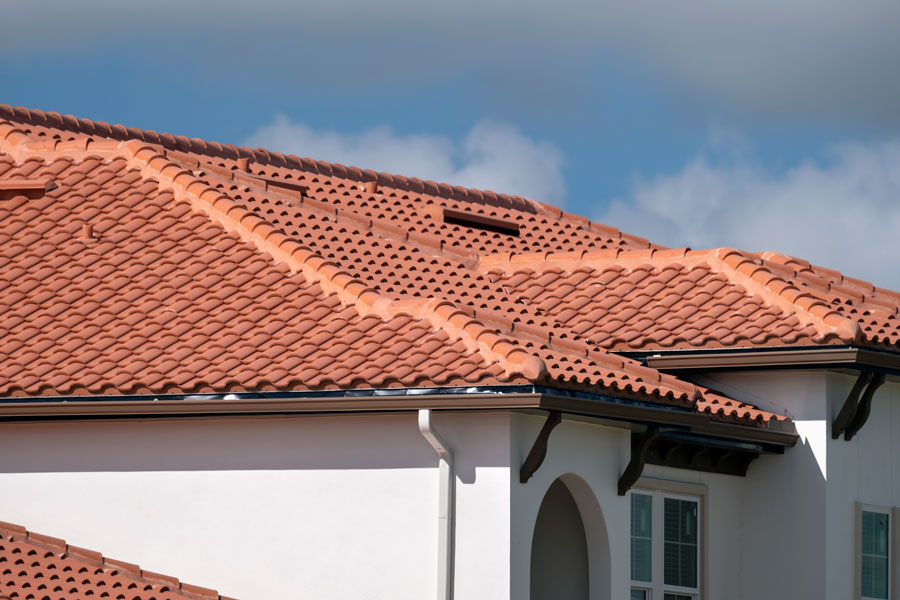
London properties feature diverse roofing materials reflecting centuries of architectural evolution. Clay tiles are prevalent on Victorian and Edwardian homes, offering distinctive terracotta aesthetics and lasting 50-100 years with proper maintenance.
These tiles are heavy and expensive but provide excellent weather resistance and traditional character that enhances property value.
Concrete tiles became popular from the 1950s onward as cost-effective alternatives to clay. They’re widely available in various colors and profiles including pantiles and interlocking designs.
While concrete tiles are more affordable and durable for approximately 50 years, they’re porous and prone to color fading over time.
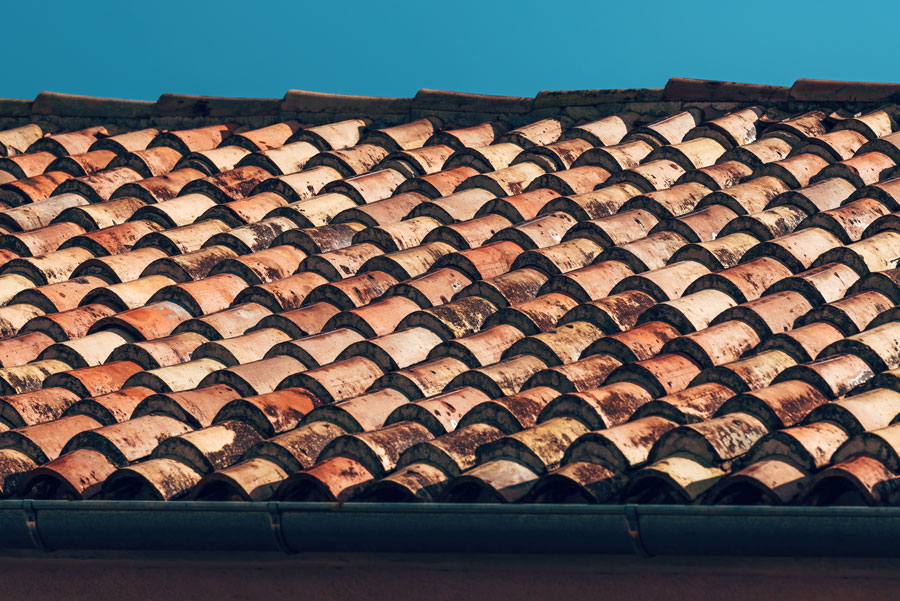
Natural slate roofing in London represents the premium option found on Georgian properties and high-end homes throughout London. Slate tiles can last 75-150 years, making them virtually permanent roofing solutions.
However, their substantial weight requires strong roof structures and professional installation, contributing to higher initial costs that prove worthwhile through exceptional longevity.
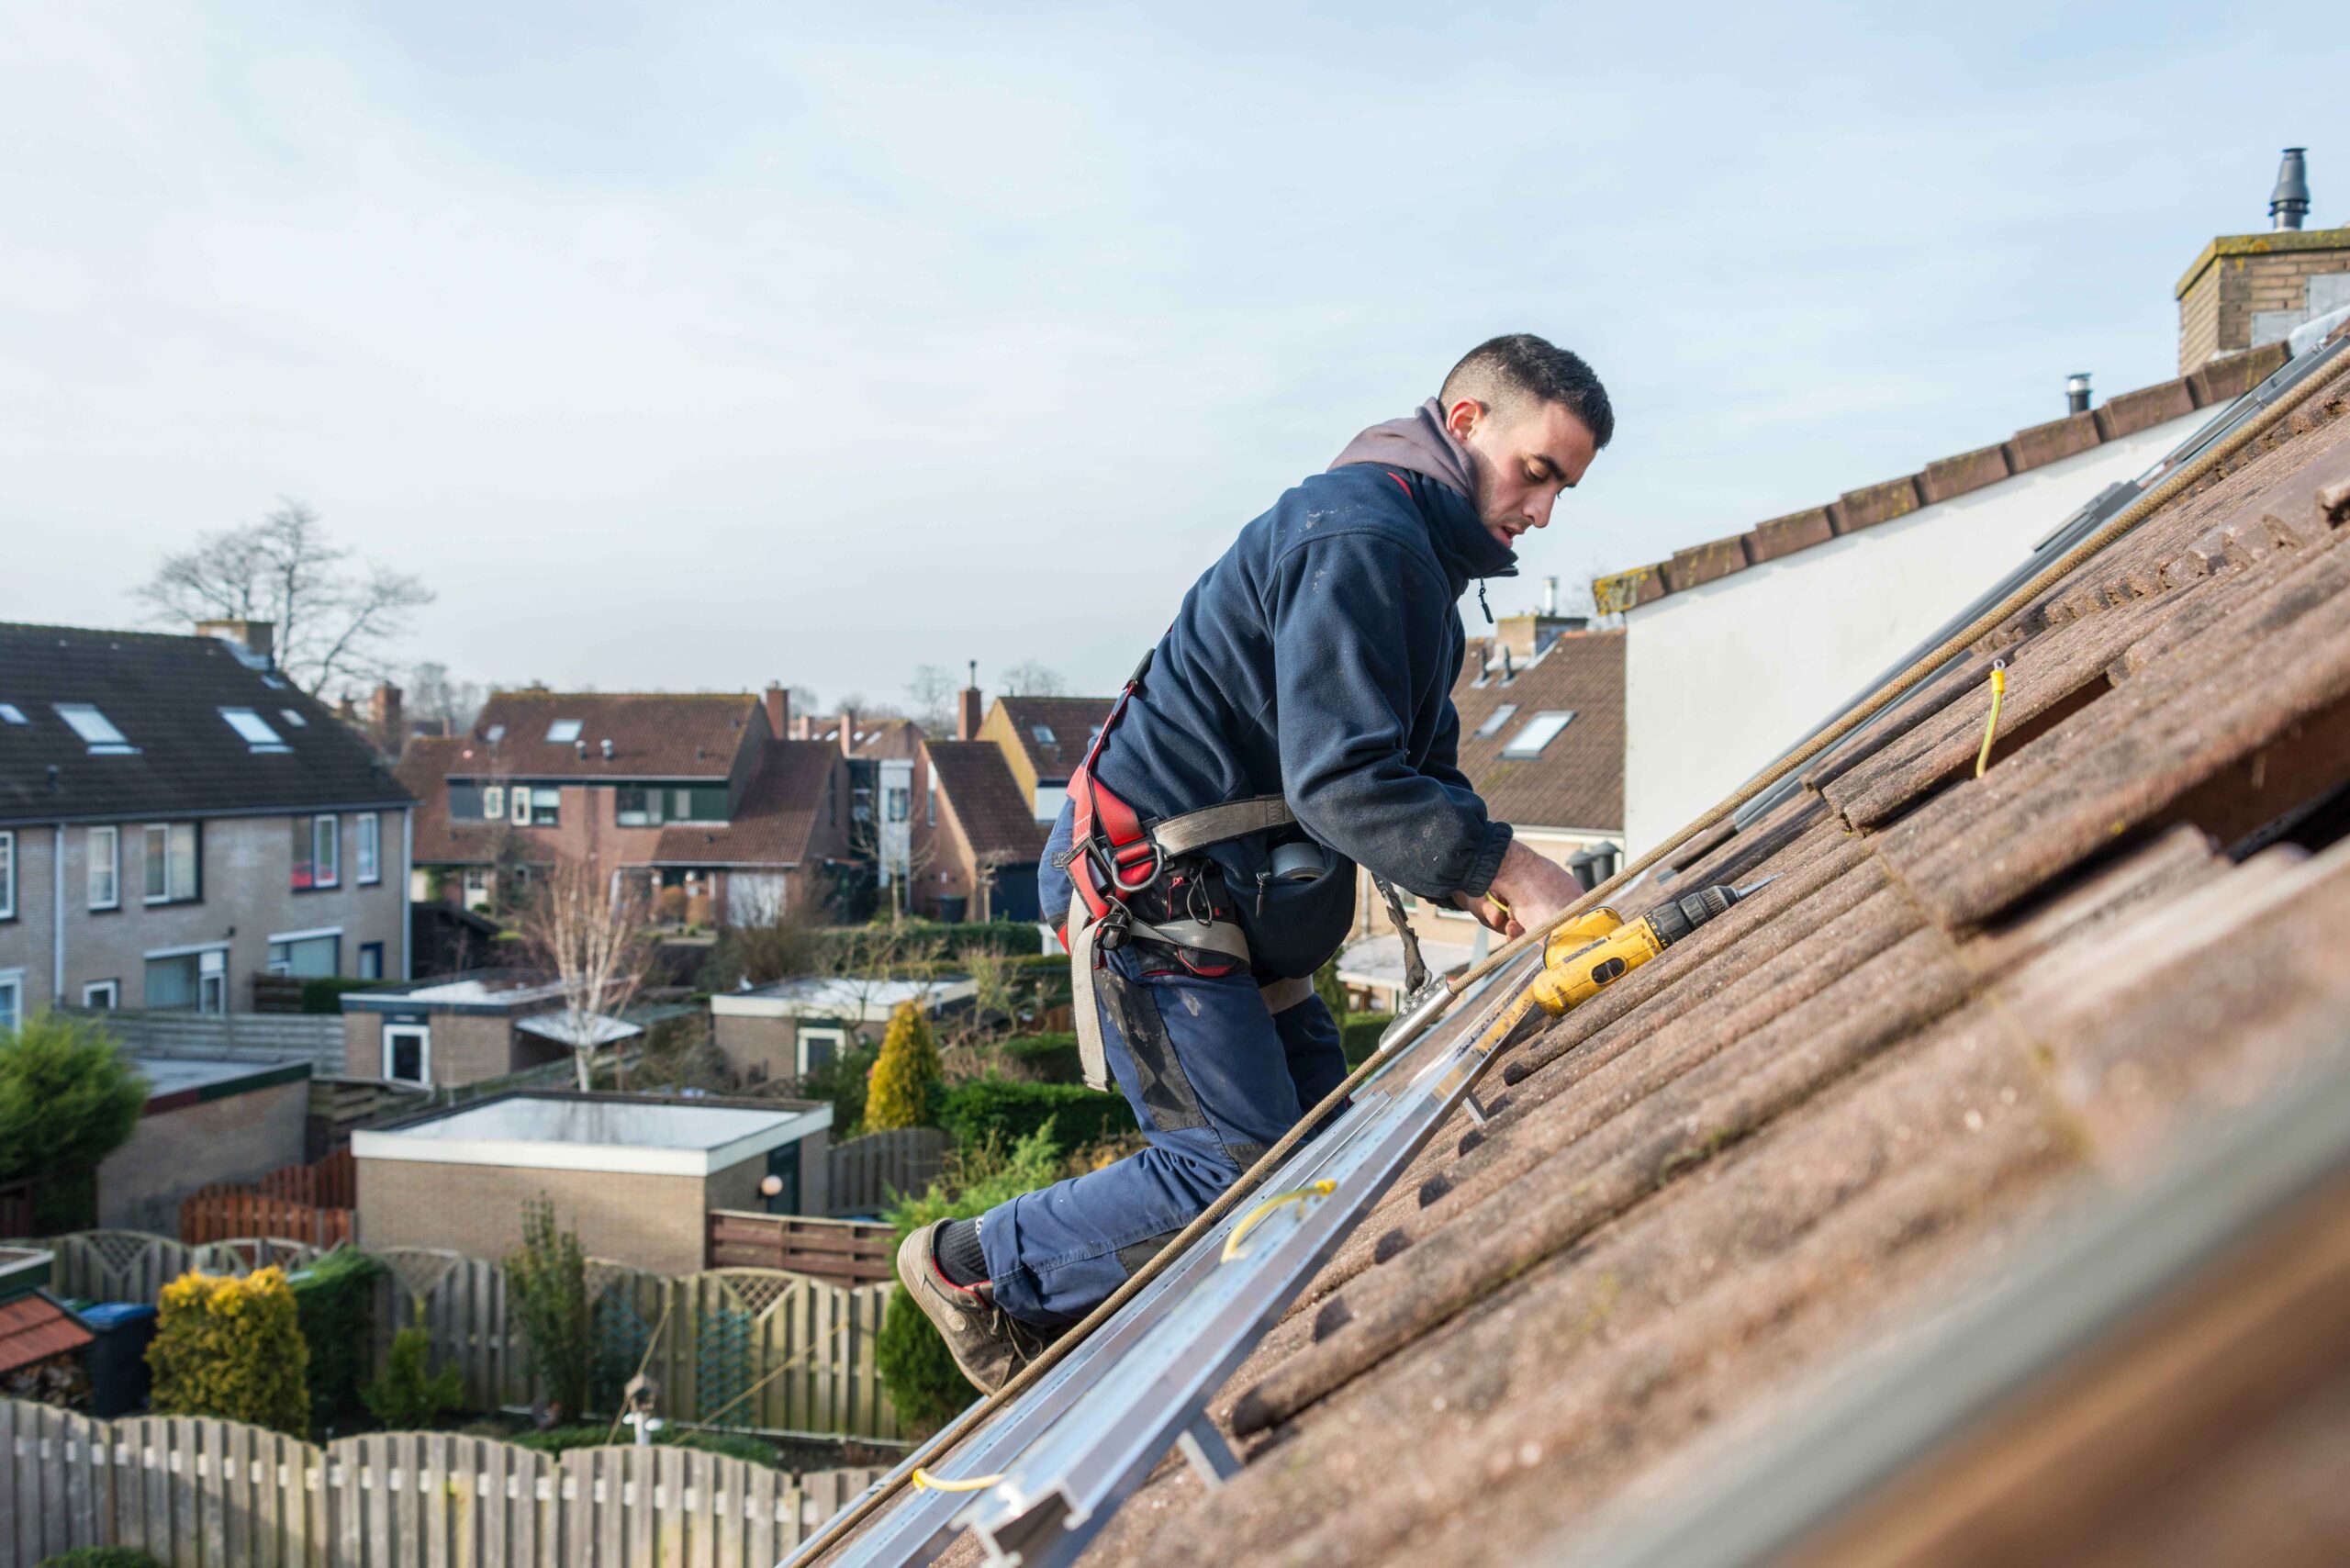
Certain situations demand professional expertise beyond DIY capabilities. If damage extends beyond a few isolated tiles or you discover structural issues with battens, felt, or roof deck, contractors possess the skills and equipment for comprehensive repairs. Multiple cracked tiles clustered together often indicate underlying problems requiring thorough assessment.
Access difficulties present another reason to hire professionals. Steep roof pitches, properties exceeding two stories, or roofs requiring scaffolding for safe access make DIY replacement impractical and dangerous.
London’s building regulations mandate proper fall protection and safety measures for roofing work, equipment that homeowners typically don’t possess.
Properties in conservation areas or those with listed building status face additional restrictions on roof modifications. Professional roofers understand these requirements and can navigate planning permissions and building control approvals necessary for compliant repairs.
Roof tile replacement costs in London vary based on several factors, including tile type, access difficulty, and repair extent. Replacing up to five easily accessible tiles averages £170-£215 when scaffolding isn’t required. This assumes replacement tiles match existing materials and are readily available from suppliers.
Costs increase when cement bedding is needed to secure tiles or when roof ladder access is necessary, reaching £225 for five tiles. Difficult access requiring scaffolding or hard-to-source tiles can push prices to £500 for similar quantities. London properties often feature unique or discontinued tile patterns that cost more to source or may require custom manufacturing.
Complete roof retiling for an 80-square-meter roof ranges from £11,000-£19,000 depending on material selection and property specifics. Clay and slate tiles command higher prices than concrete alternatives, but their extended lifespans and aesthetic appeal justify the investment for many homeowners.
Regular maintenance extends the life of replaced tiles and prevents future damage. Schedule annual roof inspections, ideally in autumn before winter weather arrives, to identify and address minor issues before they escalate.
Remove accumulated moss, leaves, and debris that trap moisture against tiles and accelerate deterioration.
Check that all tiles remain securely positioned after storms or high winds, as London’s variable weather can dislodge even properly installed tiles.
Address minor cracks immediately using roofing cement to prevent water infiltration that damages underlayment and timber structures. Keep gutters and downpipes clear to ensure proper water drainage away from the roof surface.
Document all repairs and maintenance activities with dates and photographs. These records prove valuable when selling property and help identify patterns suggesting broader roofing issues requiring professional attention.
Homeowners can replace individual damaged tiles if they have proper equipment, follow safety protocols, and possess basic DIY skills. However, extensive damage, access difficulties, or properties in conservation areas typically require professional roofers who understand local building regulations and safety requirements.
Replacing five easily accessible tiles typically takes 2-3 hours for experienced DIYers. Projects requiring cement bedding or challenging access extend to 3-5 hours. Weather conditions significantly affect the timeline, as wet or windy conditions make safe roof work impossible.
Minor repairs like replacing a few broken tiles generally don’t require Building Regulations approval. However, extensive work involving more than 25% of your roof area or structural modifications needs approval from your local authority’s Building Control department to ensure compliance with thermal performance and safety standards.
Using tiles that don’t match existing ones in size, profile, or weight creates gaps, allowing water infiltration and may prevent proper interlocking. Mismatched tiles also affect your home’s appearance and potentially reduce property value. Always source exact matches or consult professionals about suitable alternatives.
Replacing damaged roof tiles promptly prevents minor issues from escalating into expensive structural repairs.
Whether tackling straightforward DIY replacements or engaging professionals for complex projects, understanding the process ensures your London property remains protected against the elements.
Regular maintenance and timely repairs preserve your roof’s integrity, extend its lifespan, and maintain your home’s value in London’s competitive property market.